
Since my BFF is pregnant…like super pregnant…like about ready to pop out a tiny human of awesomeness kind of pregnant…I of course, as her BFF, had to plan a baby shower for her. So what better way to celebrate then to create a magnificent baby shower themed cake and cupcake display? Answer: There actually is no better way to celebrate. I created a beautiful 3 layer, 2 tiered cake (2 layers of chocolate with a vanilla layer in the center), and 60 fabulous cupcakes. I of course had a little help from my baking sidekick Stewy, and together we made an amazing bunch of tasty treats.
Stewy picked up some really fun baby shower decorations at Michael’s, and we pretty well used those to decorate our 60 chocolate and vanilla cupcakes. We chose blue, green, and orange as the colours (to compliment the cake and match the colours chosen for the baby room). In terms of the icing, it was of course buttercream, and we simply died the icing to match our colours. I used a new technique for a large majority of the cupcake swirls. Using a standard 1M tip from Wilton, instead of doing a basic swirl, starting on the outside and working in, I did the opposite, starting my swirl in the middle and working my way out. The icing doesn’t “stack” and it creates a rose. You can find a tutorial here.


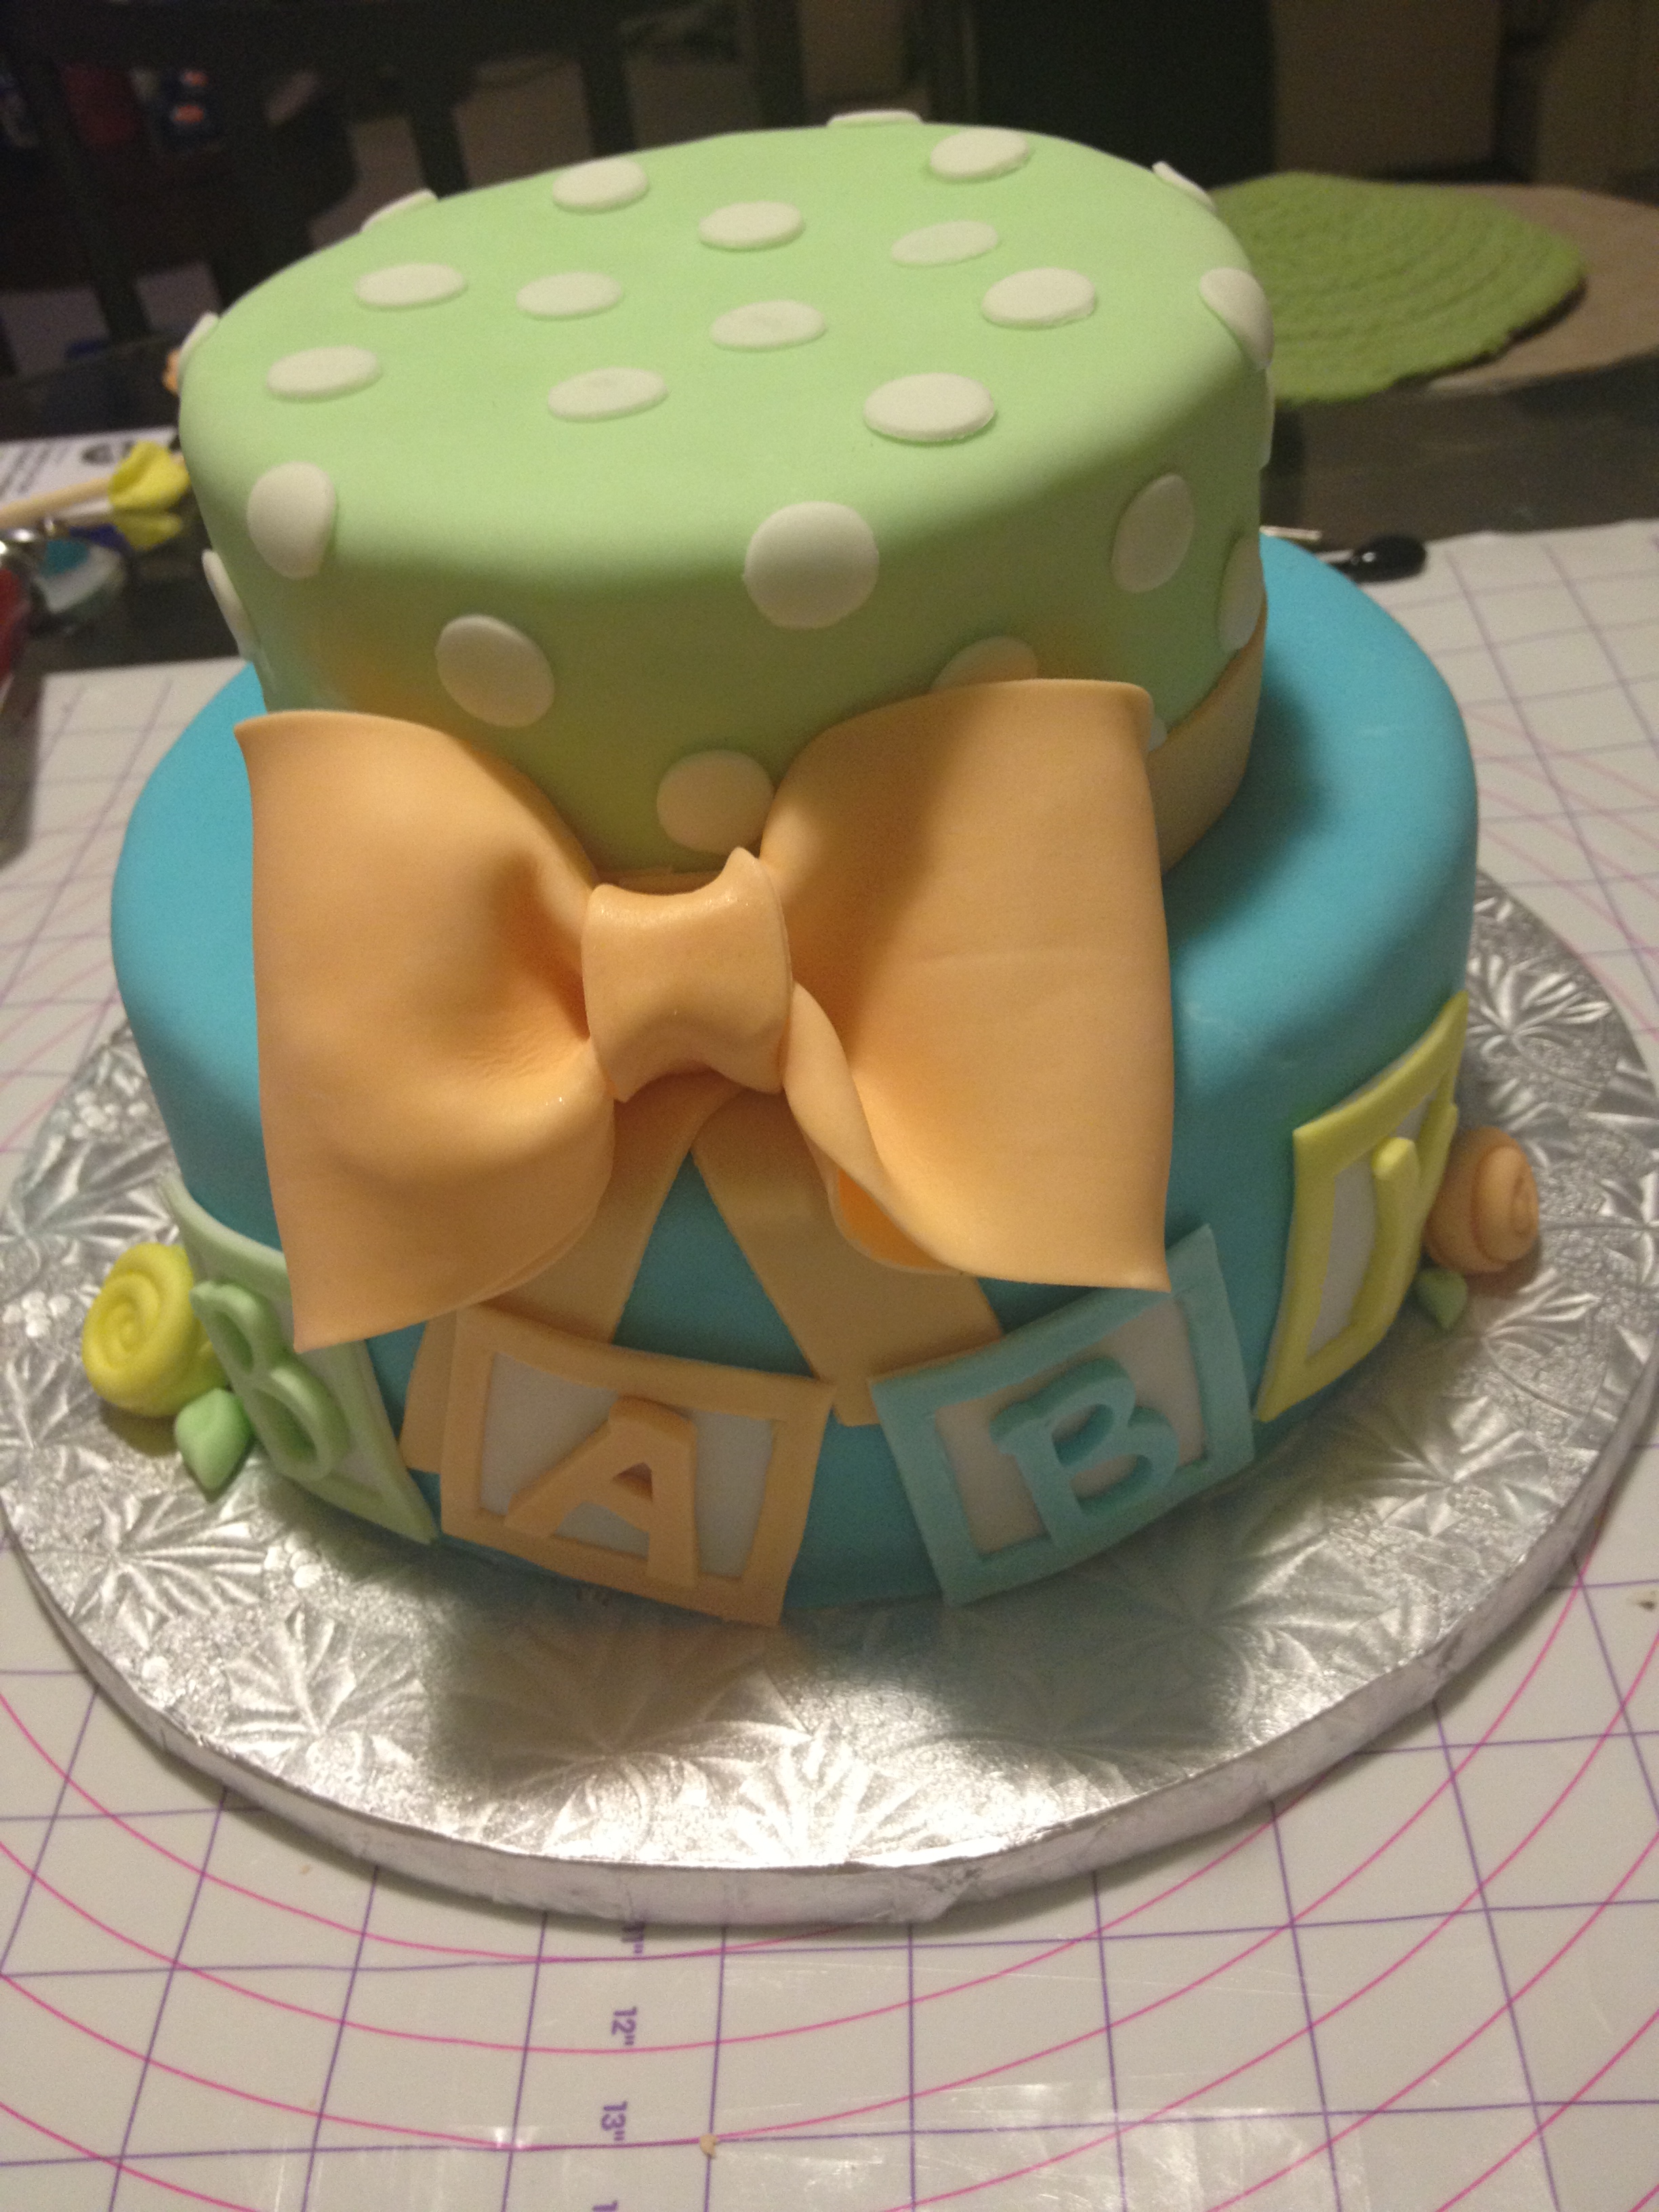
On to the cake…I had a lot of fun doing it and it actually didn’t take me that long. I had dreams of teddy bear and letter block toppers, but I kind of failed on those ones…But I will practice. My teddy bear ended up looking incredibly creepy rather than cute, and I didn’t want to scare any children. This tiered cake ended up working out alot better than the last one, because I actually stacked it properly. I used cake circles to stack the cakes rather than mini cake boards, and when I inserted the dowel rods into the cake, I did so before I covered the tier in fondant. The cake was fresher and there were no ugly poles sticking out of it once the top layer was removed. Mind you, I thin k next time I stack the cake I will glue them together using buttercream rather than gum adhesive glue. When we popped off the top layer it definitely pulled a nice chunk of the bottom layer’s fondant with it. I also vowed that I would always do 3 layers per tier rather than two, which worked out well and made for much nicer, taller tiers.
The first steps were to bake and layer the cakes, and then cover them in a coat of buttercream. Again, I’m still having trouble with frosting cakes but I’m getting better.


Then, once the frosting had hardened slightly, I inserted the dowel rods into the bottom tier of the cake, measuring them against the tier and cutting them beforehand. I made sure they weren’t protruding past the top of the cakes, and then covered the cakes in fondant. The bottom was covered in blue fondant, and the top green.


Next, I rolled out some orange fondant and cut out a 1 inch strip using my fondant ribbon cutter. I then decorated the top layer with white polka dots…you can’t have a cute baby shower cake without polka dots.


I made the “bow straps” using the ribbon cutter, and then attached them to the cake. The bow was actually relatively simple. You can find a tutorial here. I followed her directions exactly and the bow turned out perfect. *Note: I did add gum paste to the orange so that the bow would harden faster. I placed the bow on the cake (using gum paste adhesive) while the bow was still relatively malleable so that it would not crack or break while I pressed it on. Adding gum bast to things like bows and ribbon decorations can make things much easier as it is more “cooperative” when you are trying to make shapes (particularly delicate shapes for things such as flowers and figurines).


Next I made the BABY letter blocks, using silicone letter stencils and a pizza cutter, and glued them into place at the front of the cake.


I made some fun little roses put rolling out fondant and then swirling it around itself until it resembled a flower. I thought these were more “baby-like” than the typical gum paste rose that you’ll find on a more traditional cake. The original cake that I got my inspiration from can be found here. This cake also had some vary cartooney roses that I really enjoy. I added an orange ball border (can you tell I like ball borders?), and voila! The only thing left to do was eat it…and I did! The taste was great, and I really don’t regret making the third layer on each tier. The vanilla in the center was visually a great touch and it really added to the flavour.


So I think that this is one of my favourite cakes so far. I just love everything about it! Lessons learned: Covering the cake board would have been a nice touch to the overall display. The “tin foil” look isn’t super appealing to me when it comes to things like baby shower, wedding, or bridal shower cakes, so next time I plan on covering it with white fondant, and possibly adding a design. I think I could have toned down the colouring a little on the cupcakes. I’m excited that they were nice and bright, but the tones of the orange, blue, and green didn’t match the tones of the cake. This isn’t a HUGE deal and I of course received no complaints, but I think I would rather have added less colouring to the buttercream so that it matched a little better. Also, I still really need to work on my buttercream techniques. The worst thing about my fondant covering is that I often see the imperfections of the icing through the fondant. Sometimes this leaves bumps on the sides and I can really notice it. This can only be learned through doing more cakes! I am so excited to make more. But speaking of “making more” I promised another chocolate chip recipe this week. I will make the mayo based chocolate chip cookie recipe within the next few days and I am super pumped to see how they taste. Wish me luck! Happy baking.

Wow babe.. really proud of you
LikeLike
Your cakes looked excellent!
I have a bit of trouble with frosting too..still watching plenty of YouTube tutorials 😉
Looking forward to seeing your next cake. 🙂
LikeLike
Thank you so much :). YouTube has been my saviour! I have another baby cake and all I’ve been doing is watching videos lol.
LikeLike
Good luck with your next baby cake, sure it will look and taste delicious. 🙂
LikeLike