I have had nothing but Christmas on the brain for the past few weeks! Unfortunately this has done nothing to help me study for my upcoming exams, and has caused me to become extremely distracted at work. I have been listening to Christmas music non-stop and since yesterday I have watched four Christmas movies. Ken and I went out on Saturday and bought a whole whack load of new decorations for our apartment, put up our tree, and added a fresh set of LED tube lights to our windows. It looks amazingly festive! If I’m not baking, decorating or shopping, I am cruising Pinterest for the next brilliant decorating idea or fun new recipe. I am obsessed! With only a month left I have so much more to do. Today I’m sharing two more DIY card designs. These ones are incredibly more complicating than the other two designs I made a while back, and took much more time. In fact, I’m still not done, but plan to be by next week (I hope?!?!). With one of my designs I actually managed to get a little help – thanks to one of my wonderful co-workers (the same one who taught me how to operate a sewing machine) lent me her Cricut. For those of you who don’t know, a Cricut is a scarpbooking tool that assists in cutting various shapes and letters… to make things go a little quicker. It worked wonders on my last design and saved me a bunch of time.
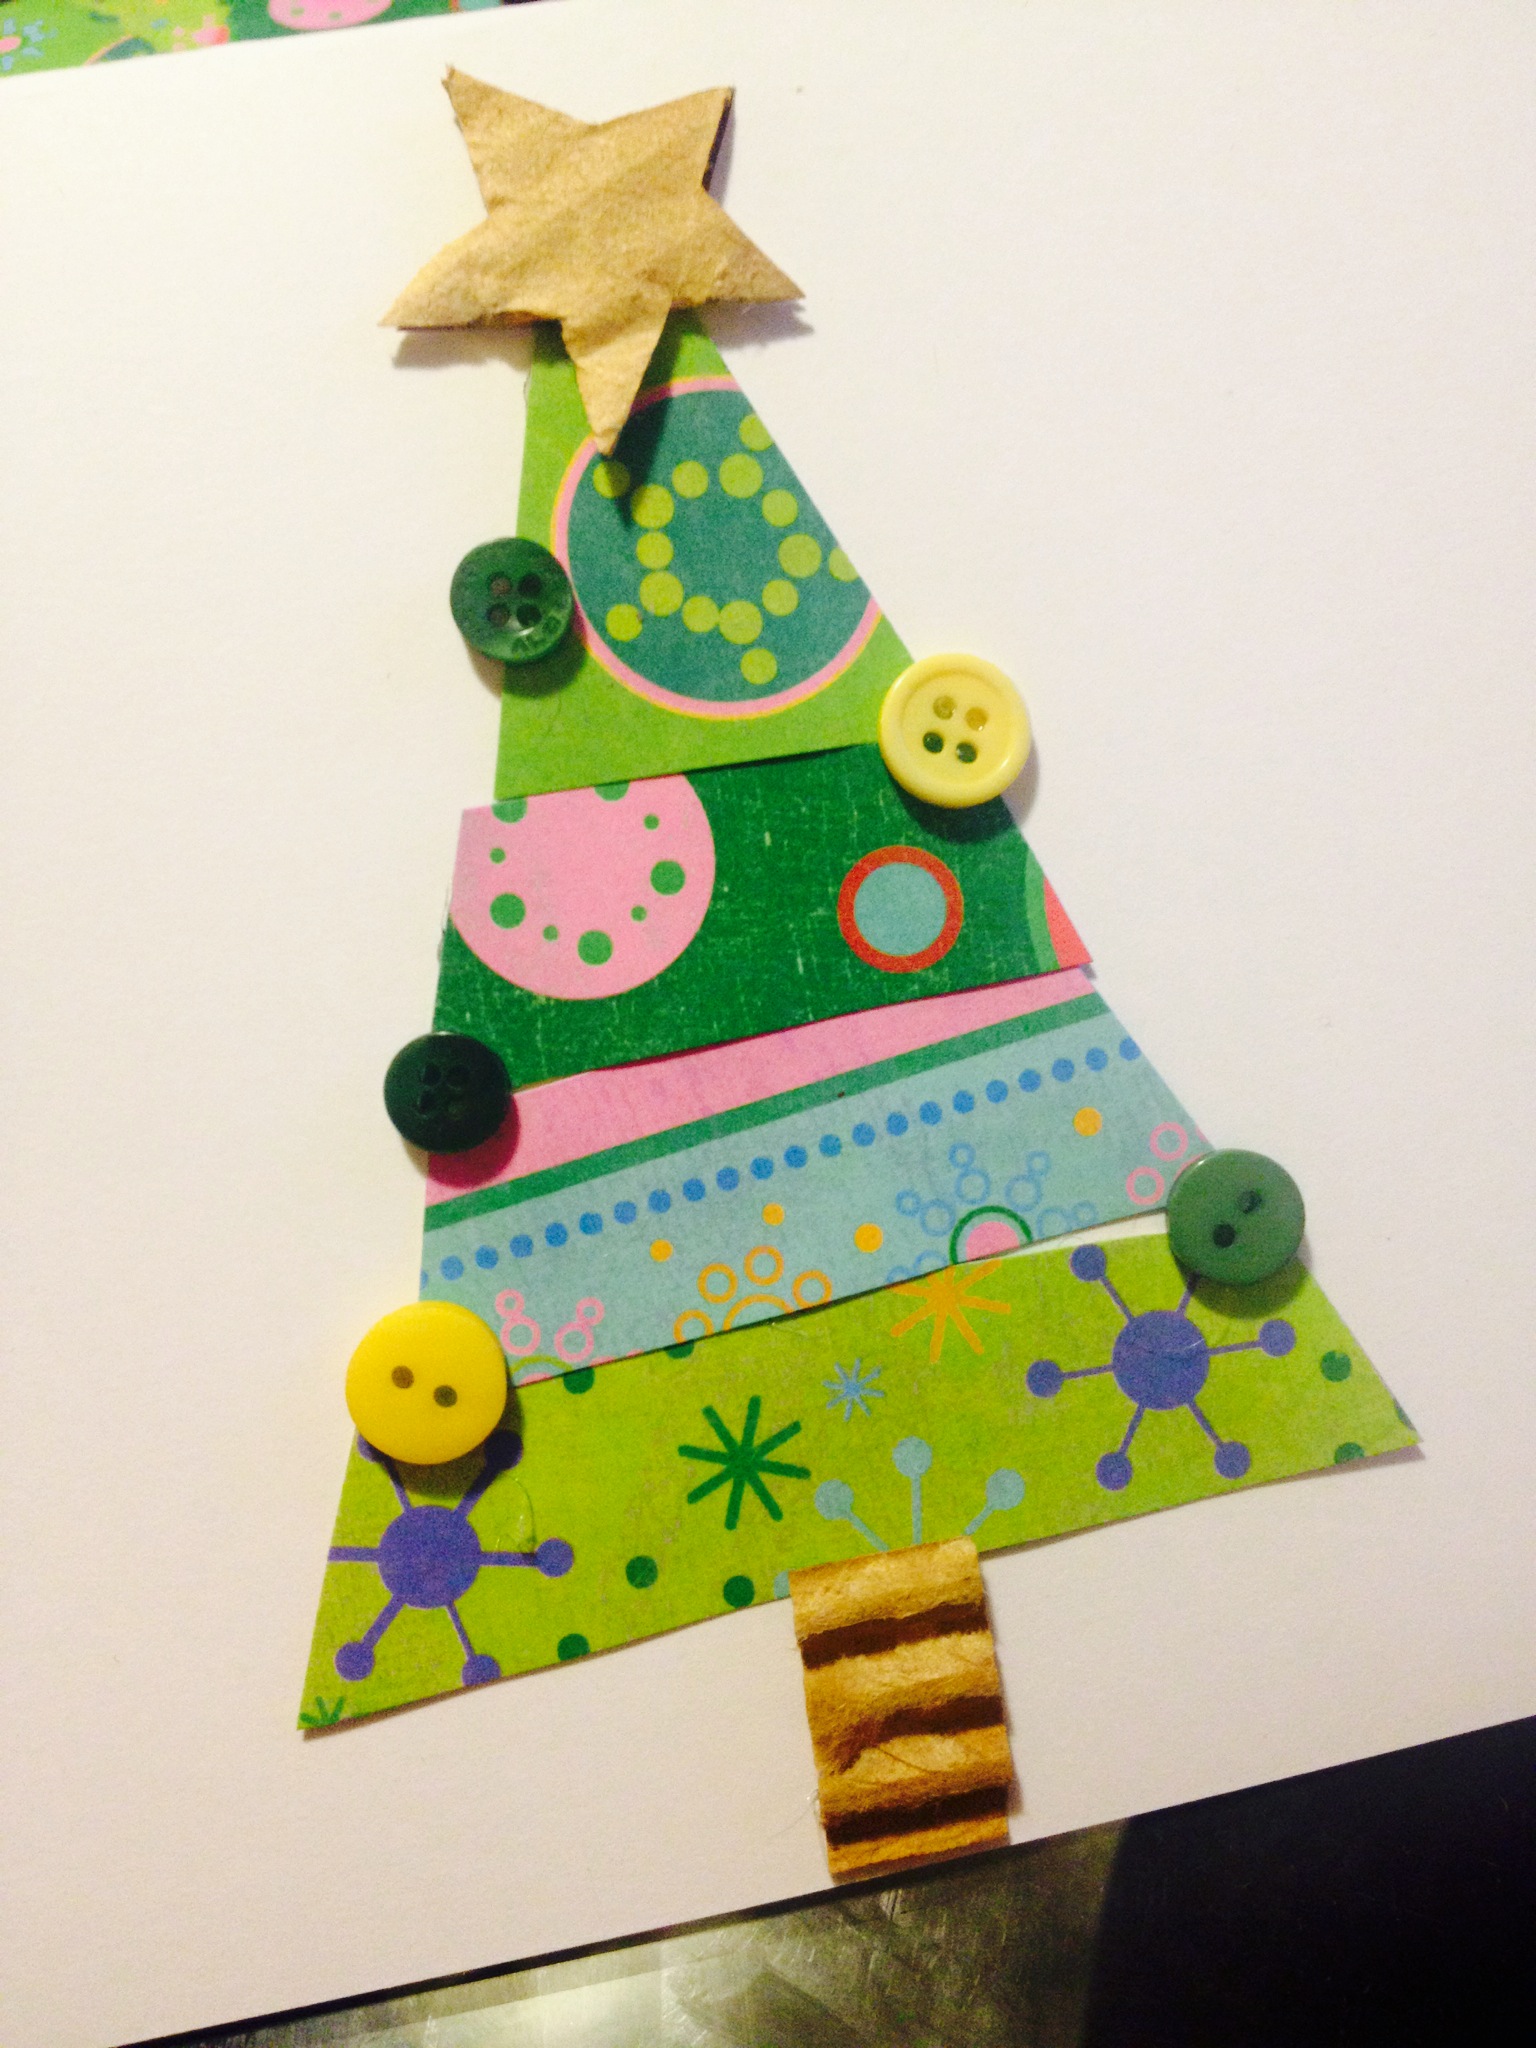
The first design is a Christmas tree in the center of the card cover made from scrapbook paper circles, buttons and gems. For each card I cut out about 8 medium circles (maybe 1/2 inch diameter) and 6 very small circles (about the circumference of the end of an unsharpened pencil). The paper I used was mostly green since I was making a tree. I used about 12 buttons per card and filled in any blank spaces with gems. I used cardboard for the tree trunk and yellow scrapbook paper for the star. I laid a 1/2 inch strip of light blue scrapbook paper horizontally across the center of the card and wrote “Merry Christmas” in the middle.

So, to summarize, for this card you will need: a glue gun and glue sticks, 8 medium circles, 6 small circles, 12 buttons, gems, cardboard, yellow paper for the star, an ultra fine tip Sharpie and an 8 1/2 by 1/2 inch strip of scrapbook paper to go across the page.
Start by writing you message on the inside of the card.
Wishing you sparkle,
Wishing you cheer,
For a bright Merry Christmas
And a Happy New Year!
Happy Holidays!
Do this first! I know when I am making these I will always mess up one or two. If you mess up after you’ve decorated your card it will be much more devastating… trust me! Next glue down your cardboard tree truck to the bottom middle of the card. I like to place all my circles and buttons on the card before I glue them. Start from the bottom and work your way up.


I found the design worked best by placing 3 medium circles at the bottom and two on the second line. I filled in the blank areas with buttons, gems and even drew in some stars on a few. After line four you are going to want to use only circles and no buttons, leaving an at least 1/2 inch gap. This is where your “Merry Christmas” strip is going to go… you don’t want there to be buttons under it, that makes for a really bumpy Merry Christmas. Continue working your way up until your tree is done. Add a small star to the top.


Glue down your Merry Christmas strip across the area on your tree where there are no buttons. Write your greeting and voila! Done!

This card was incredibly time consuming, which is why I decided only to make 10 of these and 20 of the next design, since I had a Cricut to help me with it. For each card I cut out two 1 1/2 inch squares, one 1 1/2 inch rectangle, and one 2 inch rectangle. I used a small amount of red and white yarn on each card for the ribbons on the presents. Lastly, I cut out “Happy Holidays” in green scrapbook paper.

For this design, you will also need a glue gun and glue sticks, a white glue stick to glue on the letters, a Cricut (if you can get your hands on one… otherwise either print or trace out your letters using stencils), and an ultra fine tip Sharpie for your message on the inside of the card. Start by adding yarn details to your squares and rectangles, and then glue them in place on the card.


Cut out your letters and then glue them on the card. Try to center them as much as possible.


And that’s pretty much it for this one. It still took quite a bit of time to make this card, but thankfully I saved loads of time by using the Cricut… I really need to buy one of these things. I truly don’t think I will every want to cut out a shape by hand again!

I’m pretty happy with all four of my designs this year, especially since it’s the first year I have ever designed my own greeting cards, or even sent out greeting cards for that matter. I’m pretty excited and can’t wait to get them to the post office! Happy card making!