 Okay. So. Most. Challenging. Cake. EVER. A co-worker of mine asked me to make a cake for his daughter, she’s turning 17 so obviously this cake had to be special. His idea was something XBOX related, like me, she enjoys a good video game….and she likes Minecraft, which everyone knows is one of my personal favourites. So, what better than an XBOX cake with a Minecraft theme? I found a few simple tutorials online, but nothing really to help me create this. So…I kinda just went in blind and hoped for the best. And besides, how hard could it be? Really…it’s just a curvy rectangle with lines and buttons…. It was really hard! Surprisingly enough, I didn’t have THAT much of a difficult time frosting the cake, which shocked me since this cake had edges, and we all know how horrible I am at icing corners with buttercream. But, I stuck it out and made incredibly thin frosting, and I barely had any issues. You know what I did have issues with? Covering it with fondant. The problem was my corners kept ripping. I actually at one point had to rip all the fondant off of the cake and start again. I think my biggest mistake was not tossing the cake in the fridge for a half hour to crust over the icing. I usually do this, but I was anxious to get things moving, as I only gave myself two days to bake, carve, frost, cover, and decorate this cake. And…well…it was the first cake I’ve made for someone who isn’t my family so I REALLY wanted this to work out. I’m actually pretty happy with how it turned out. This is my first cake like this, and my first cake that isn’t a traditional cake design (ie rectangle, square, circle), so overall I think I did a good job.
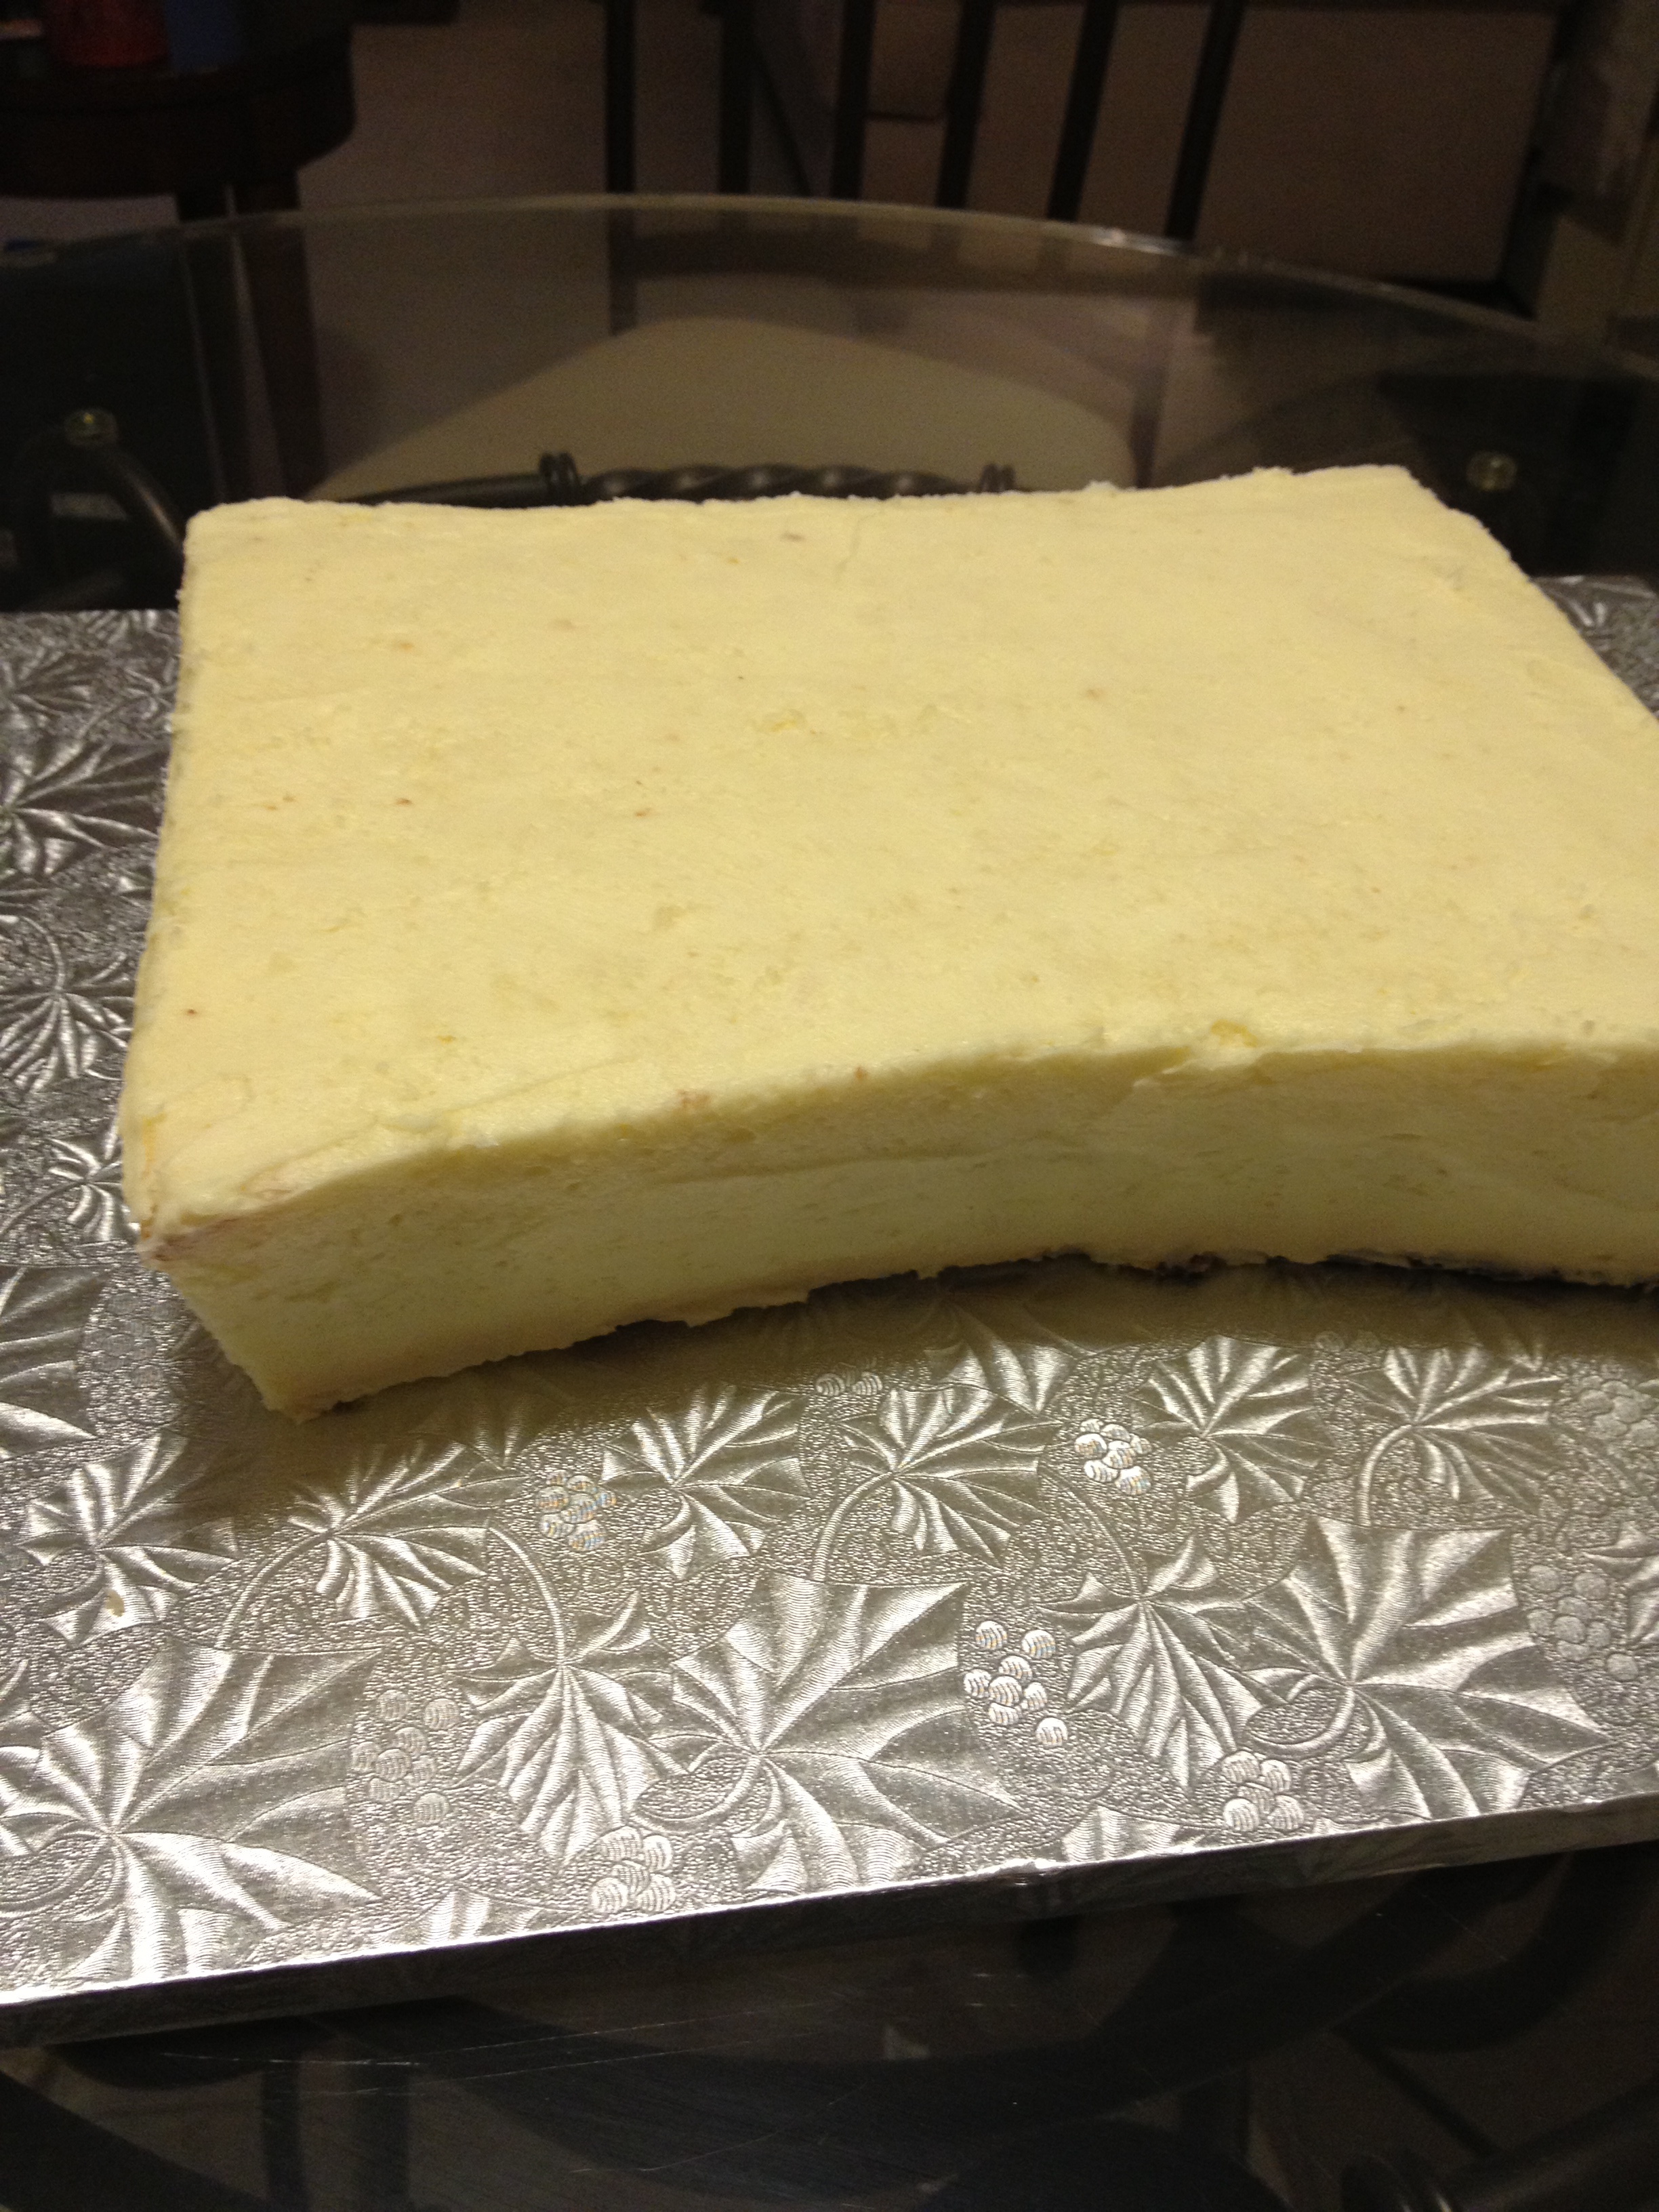

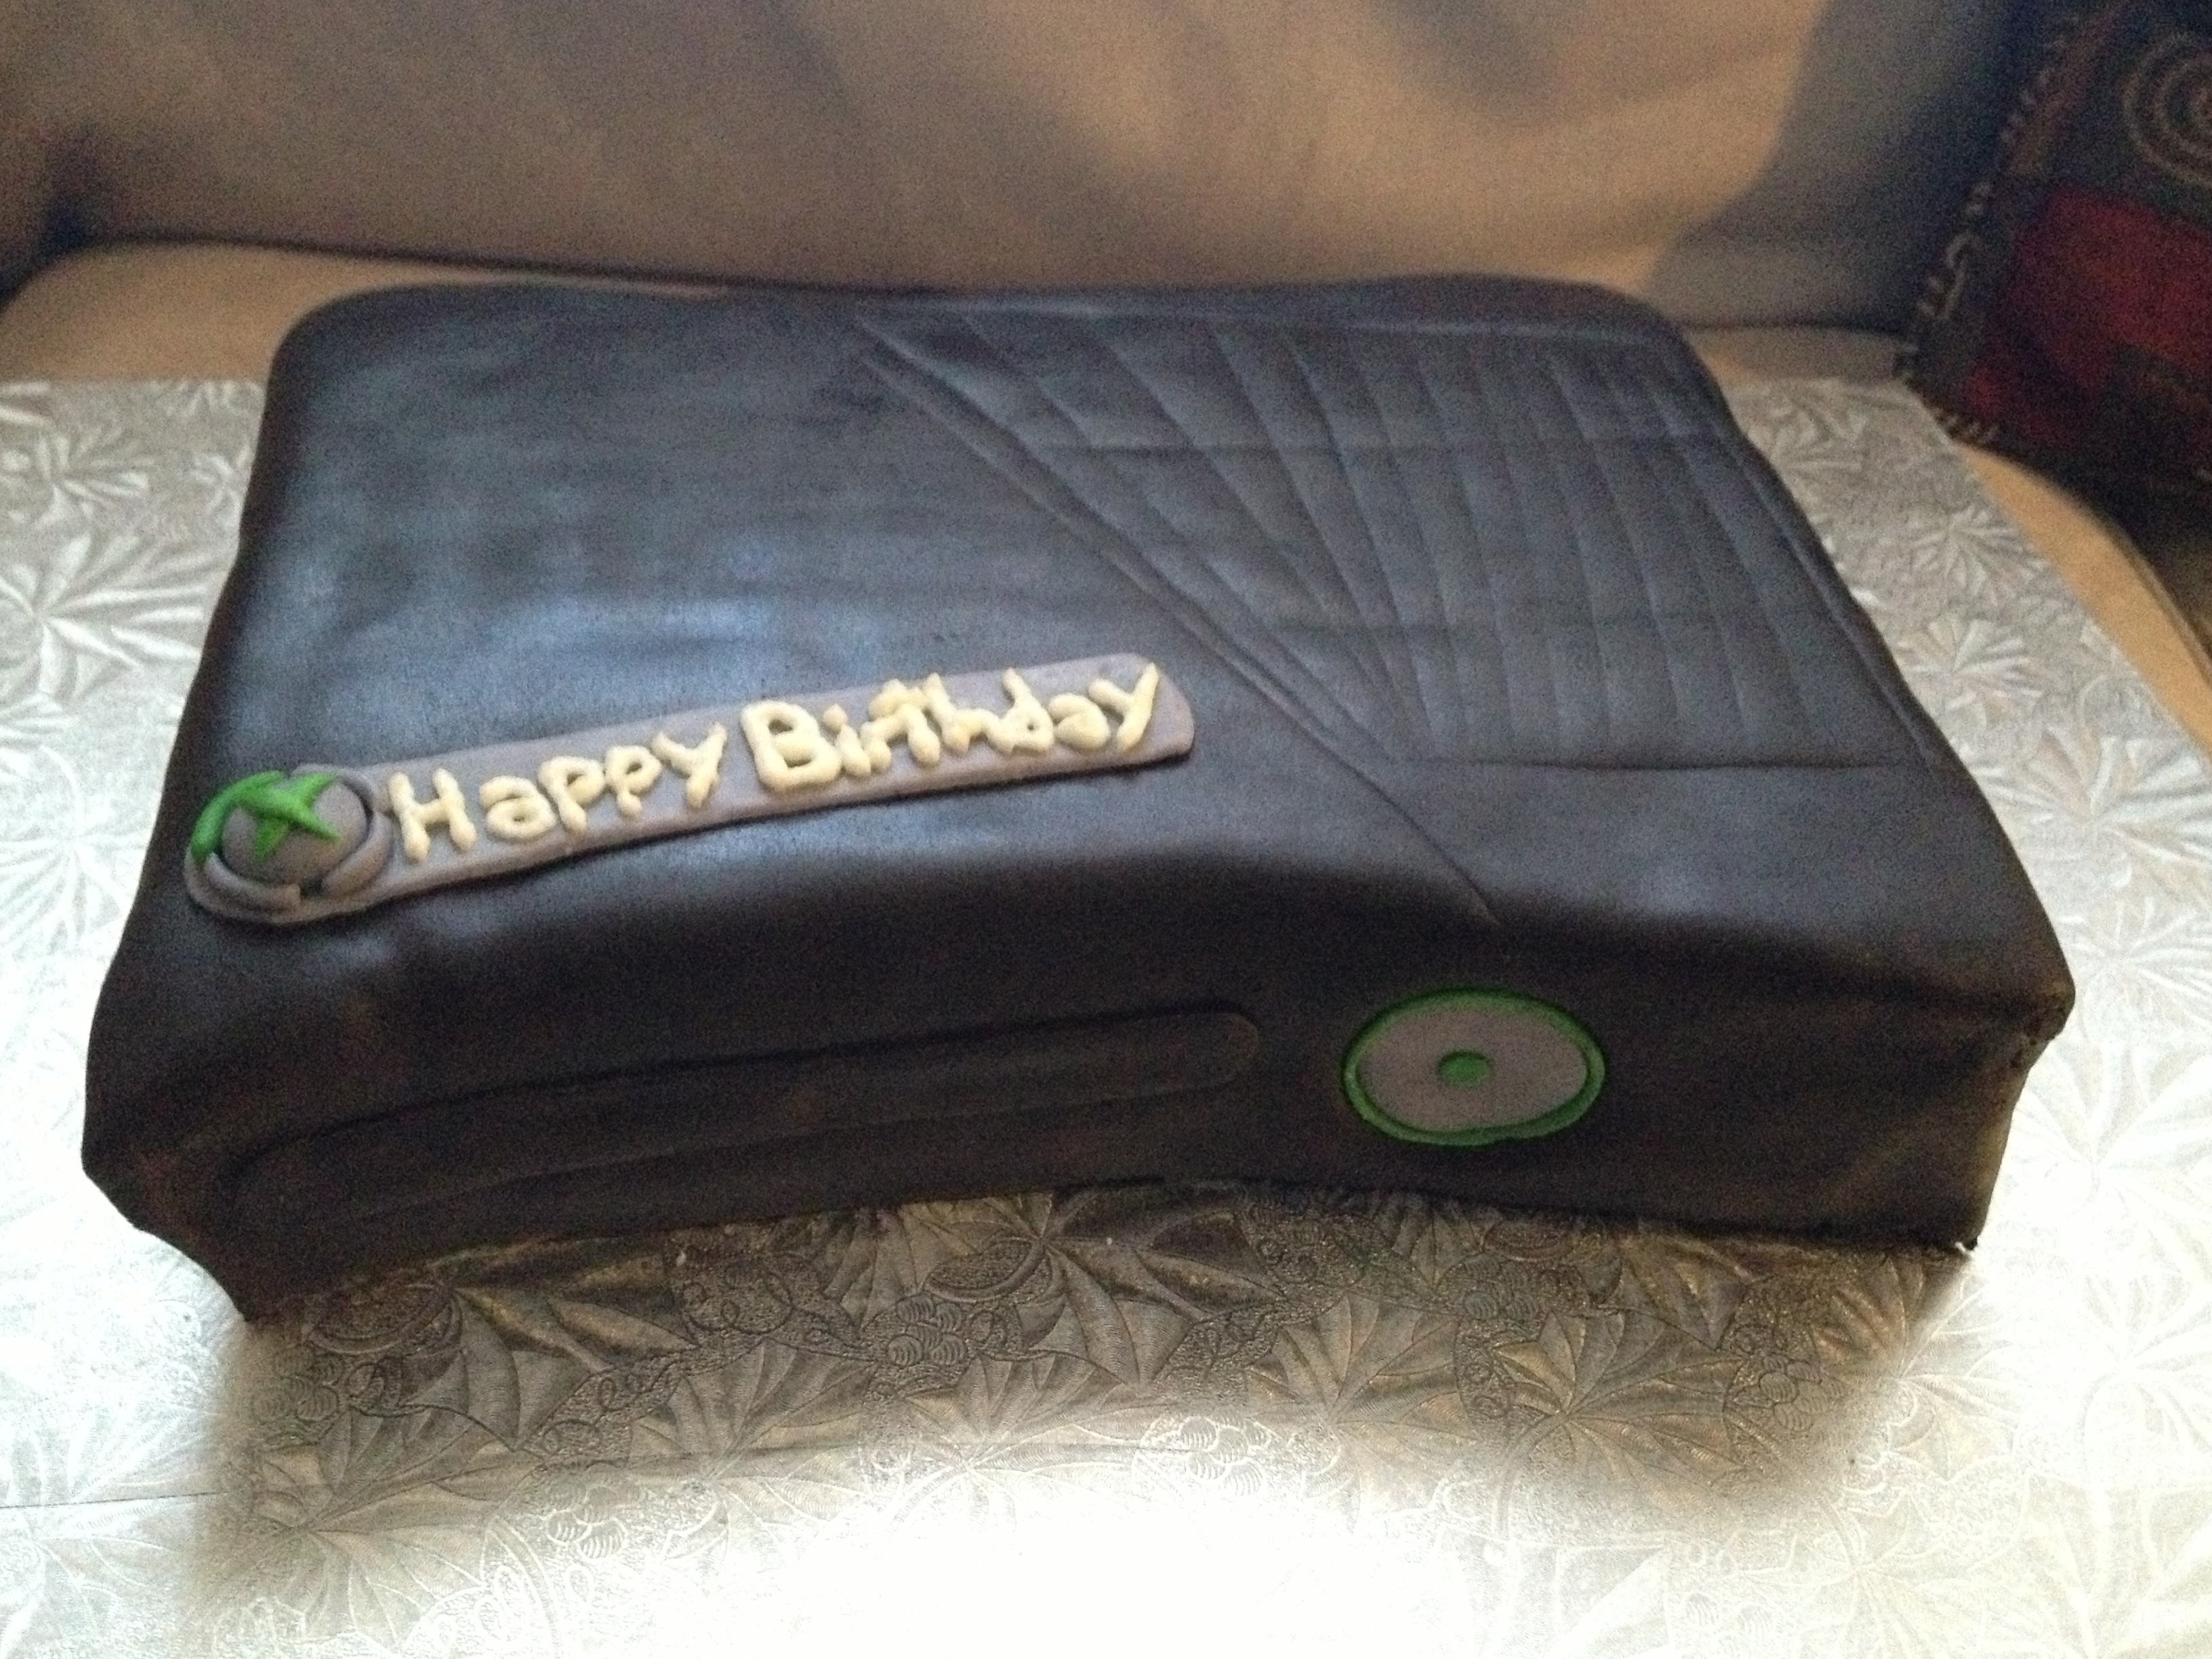
Step one was to trace the actual XBOX, and then carve the cake to that shape. That was actually pretty difficult. Did you know that an XBOX is 10 inches by 10 inches? I was hoping to make a cake that was the exact size of the actual XBOX. YOu can imagine my disappointment when I measured the XBOX after I baked the cakes. No, there is no way to turn a 9 x 13 cake into a 10 x 10 without making a mess, so I basically took it in an inch on all sides and then cut it. No big deal. I am really impressed with my corners though…Look at those things…They’re straight! They’re shape! It’s an XBOX!

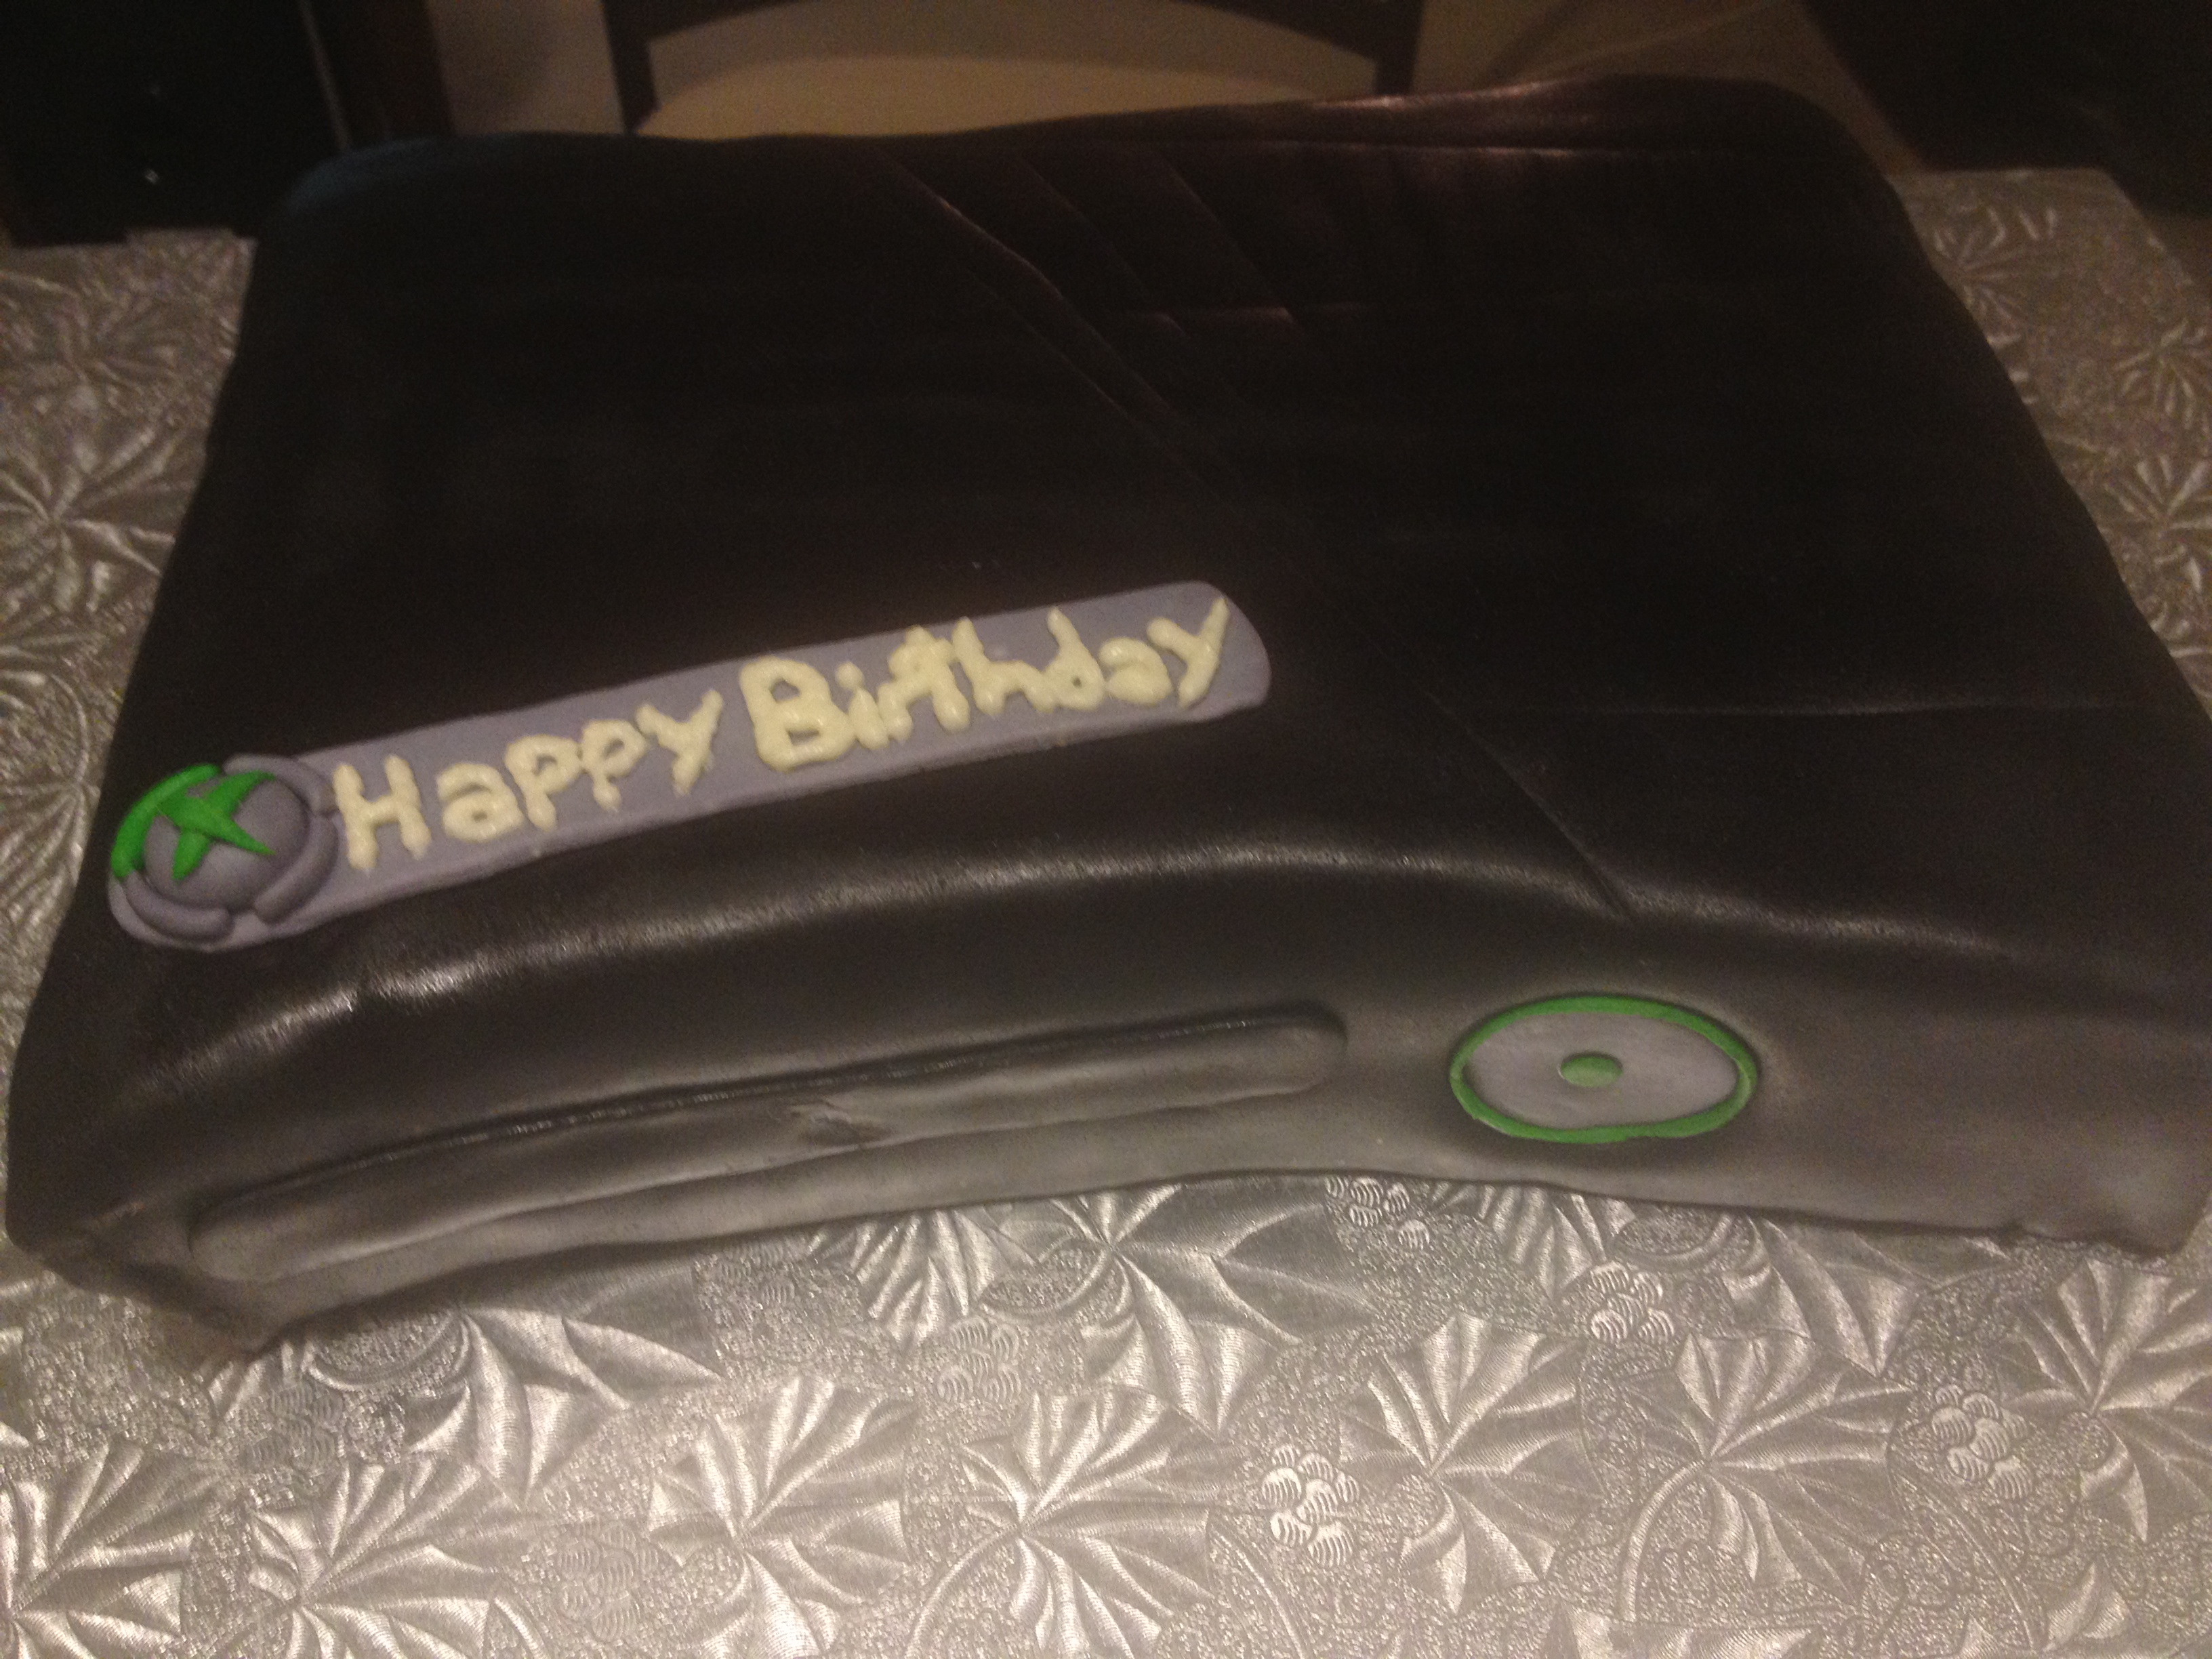
Next, I covered it with black fondant. Because the fondant was a little soft, once it was covered there still was some bumps and grooves…It wasn’t perfect. You could tell it was a cake and not an XBOX.
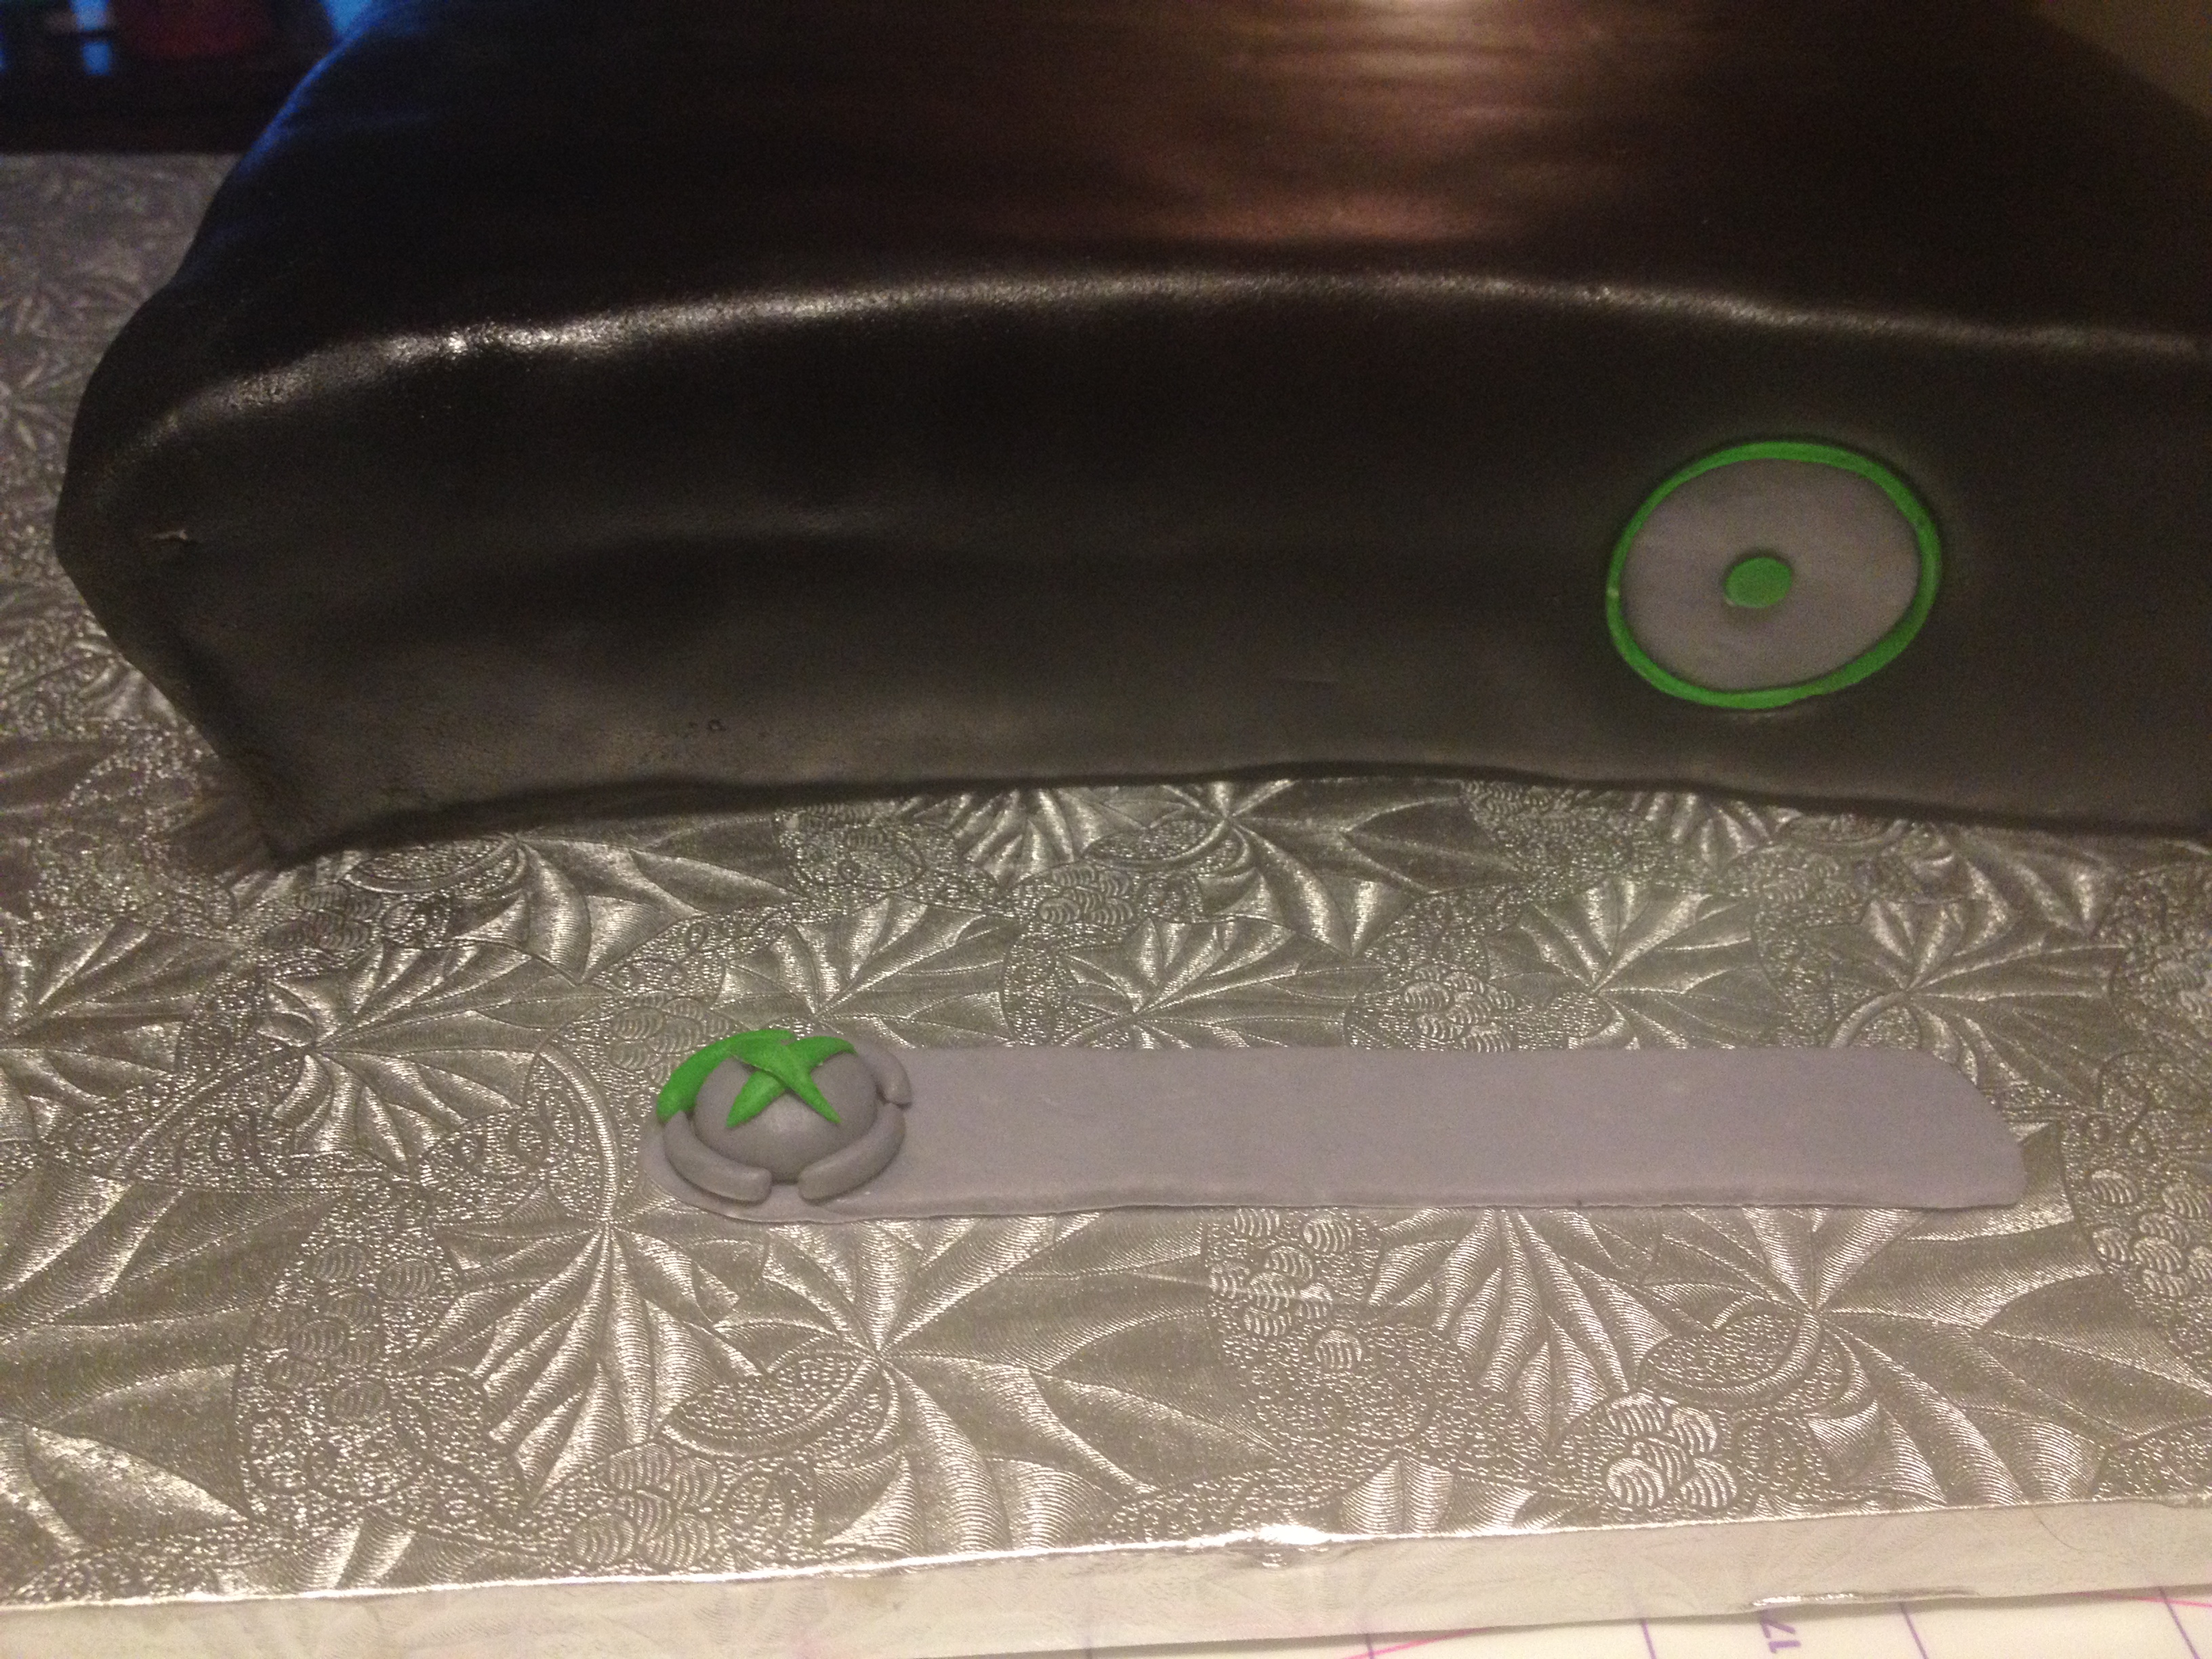
I made the button by cutting out a piece of the black fondant with a medium circle fondant cover, and then fitting the grey and green circle piece I made into the space. Then, I created the Achievement logo and wrote happy birthday on it. I still obviously need work on my piping skills, as I mentioned in my last post…Hopefully the Wilton class will be in my radar soon.
I created the lines on the cake with a pizza cutter, this is meant to be the fan.
After the “XBOX” portion was complete, I had to add to the design to make it more “minecraft”. I created a creeper, and gold and diamond blocks. I surrounded the cake with 2D blocks, either diamond, coal, gold, or just regular stone. If you don’t play the game…you probably have no idea what I’m talking about right now. Hehe.


So, there you have it… probably the most frustrating cake I have ever made, but I love it…because I love XBOX and I love Minecraft and I love cake! I really wish I could tell you about my next cake…It’s one of my bestie’s birthday…She’s turning 28. She sometimes reads so I can’t give any details, but I will say this: it involves alcoholic beverages, pink, and cheetah print. Use your imagination! Happy Baking!


